

I am thinking a skinny RED border and then a row of 3" blue squares set on the diagonal with the background fabric, then binding in RED. Like Jeanne, I think red goes with just about everything! And about the setting... Linda J. (over at http://catsnqlts2.blogspot.com/) has drafted a great diagram showing how to put blocks on the diagonal with a zig zaggy set. She did a great job - so go take a look! I knew that someone would ask me how I did it, so I took a few photos along the way...

Well, first you have to figure out how big to cut those setting triangles and corner triangles. You can find the formula over at Bonnie's site at www.quiltville.com - under Tips and Techniques - click on the on-point settings line. Voila! Just find the size of your finished block and go from there. I took this photo of what it was looking like in the early stages. I started with cutting 3" squares and my block is 10" finished, so I cut my setting squares 15.5" (slice 2X diagonallay) and corner squares 8" (slice 1X across the diagonal). This gives me a pretty big sized zig zag, but I still liked it enough to continue (but next time I am going to try it out on a much smaller block!). I am not sure I would do this setting on a block bigger than 10", but that is my personal perference.
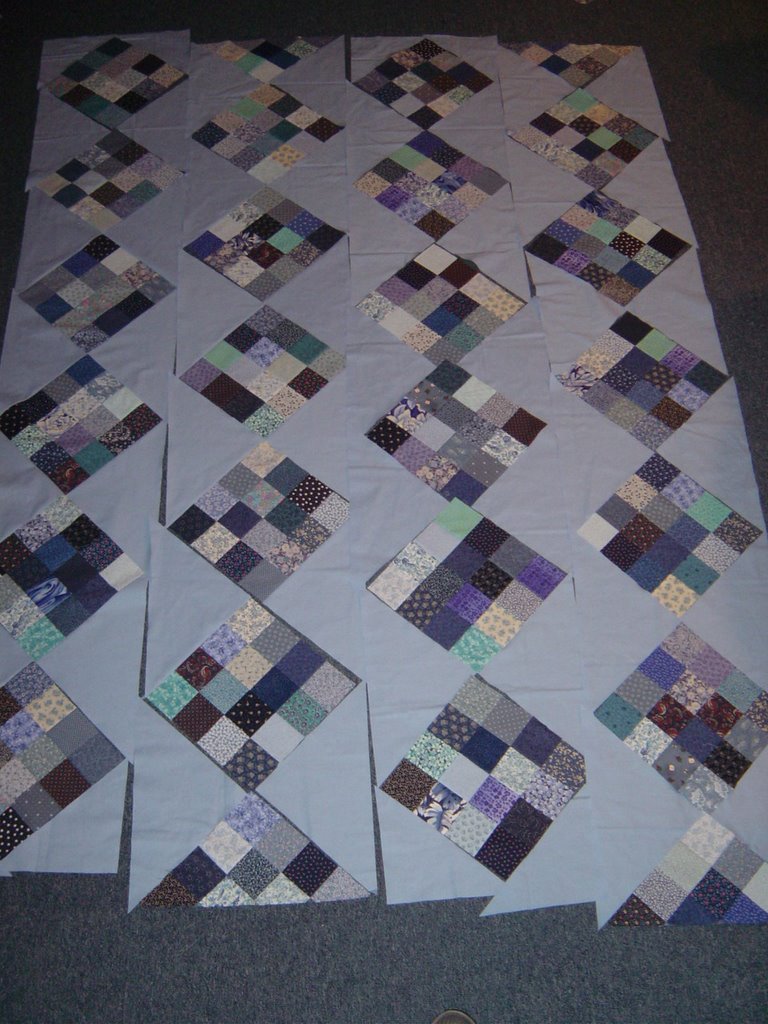
And here is a photo as I am starting to lay the rows out - some seams are already sewn and some aren't which is why nothing lines up perfectly... yet! For those 1/2 squares on the ends of the rows, I made a complete block and sliced it almost in 1/2 - I off-set the center by 1/4" to allow for the seam allowance - so one side is 1/4" bigger - that is the side I used in the quilt top - the smaller half I tossed into my crumb scrap pile for another day. I am not positive that is the correct mathmatical formula to use, but I think it came out pretty good! Next time I think I will off-set it by 1/2" though to give me more leeway and then trim down to size after the rows are pieced together. It is those 1/2 squares where you use the corner setting triangles you cut.
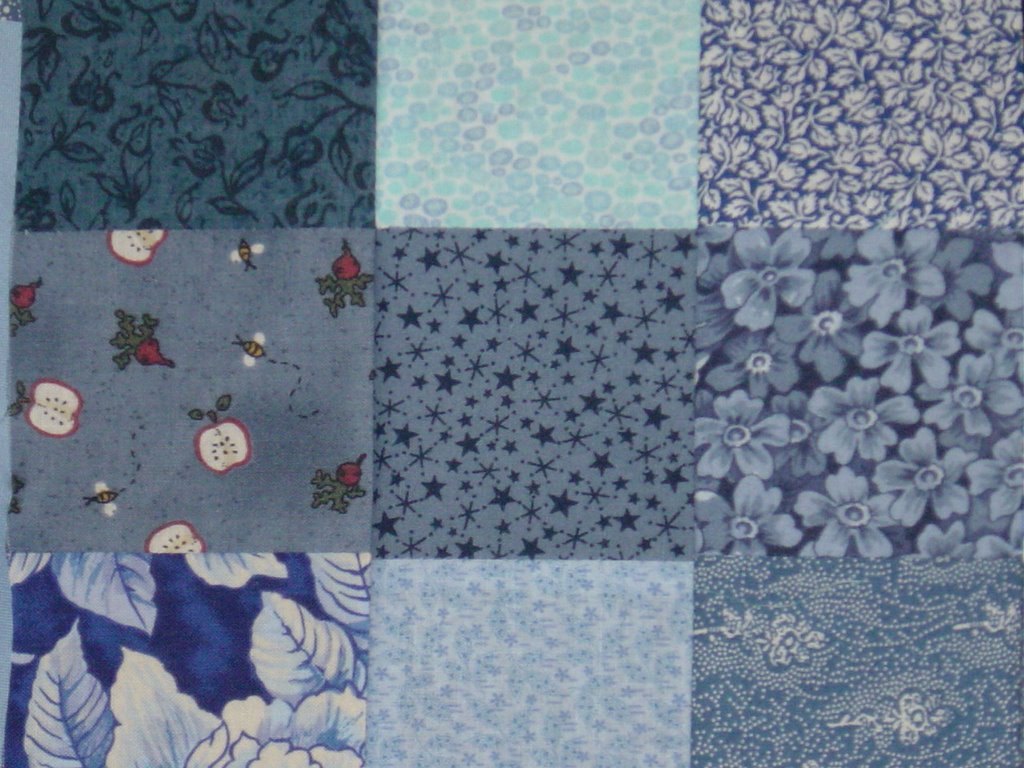
And a close up of Little Boy's apple fabric! One more thing about fabric - I started with 4 yards of the background and I am wondering if I have enough for the pieced border. I originally wanted to make another row (3 full rows and 2 rows with the 1/2 squares on the end), but did not have enough fabric for the final row. So, right now the quilt is 4 rows with the possibility of a pieced border! It is still a good size so I am happy with it - and I now have 6 extra blocks all pieced and ready to go for another project.
About the binding experiement - well, by the time I got Little Boy to bed last night I was pretty tired, so didn't get too far on that project. Hopefully I will get somewhere with it tonight and will have something interesting to report about it all tomorrow! Then again, I might just curl up in bed with my laptop, we will see...
7 comments:
I really like how this turned out Evelyn-yes, red does seem to work so well in so many different quilts. Looking forward to hearing a report on that new binding gadget.
The blues quilt top is looking spectacular!! Who would think we can do something like that with a few odds and ends of blue scraps.
I think you are right on with the red accent..good choice!!
Thanks **VBS** for such a nice compliment today...you are such a sweetie!!
Red always looks good with blue in my opinion!
This is looking very nice! I, too, vote that the red is a good choice for a border.
Your blue quilt looks very good Evelyn, and the zig zag setting is very effectful. A long time ago I also owned a piece of Little Boy's favourite fabric :-)
WOW that was quick! Red would be a great inner border as would lemon yellow!
The finished top looks Very Nice Evelyn :-)
Post a Comment