
I'm leaving on a jet plane... don't know when I will check back in again. Yup, I am headed back toward the North American continent.
In the meantime, I will leave this photo of a beautiful lighthouse at sunset to keep watch over my blog!


Have you ever noticed how fickle the weather can be in Spring? The other day, I was really enjoying the feel of air on my gloveless hands - wow, such a treat! Then, yesterday it was cold again. The weather goes up and down, up and down! No wonder so many people get colds this time of year. A big difference in Austria as compared to the US - people always seem to wear scarfs! Although winter scarfs are still being worn, many people have now switched over to the silk scarfs (which are also very warm - my favorite skiing scarf) and the stores are full of the light weight summer scarfs. I like scarfs! They are an easy fashion update - a plain white shirt (long or short sleeved) can look blue, green, pink, purple, etc. - all depends on the color scarf you are wearing. And I really think that a scarf around your neck helps keep the spring colds away.
And the fickle Srping weather? Well, I took this photo in Germany the 1st week of April last year - we were staying in a country hotel and this was the view from the balcony when we checked in.... it was a beautiful, warm Spring day!

And this was the same view right after I finished unpacking! So, if you live in one of these environments, take care this spring and to help avoid a cold - wear a scarf. You will look oh so fashionable!
Even if the morning is sunny and warm, you never know when the weather will turn. Yup, Spring is fickle!
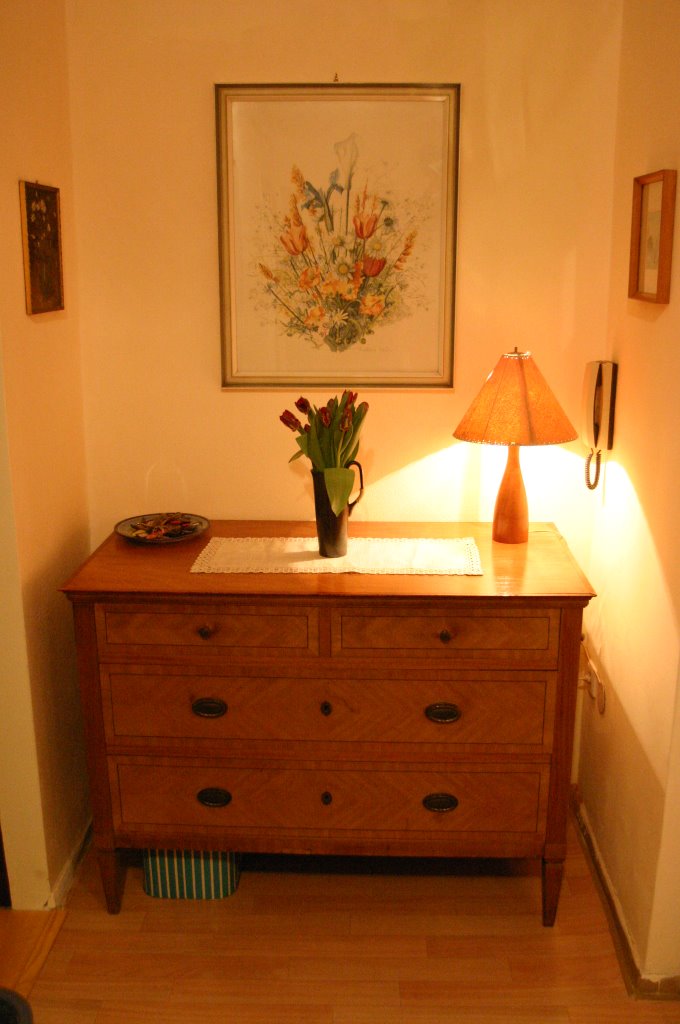
But, I have a peaceful little nook now!

First, the cutting instructions have a handy-dandy chart to refer to, which includes all the pieces, including the borders, EXCEPT for the 66 3.5" scrappy squares you need for the border, which is listed in the Materials list for the quilt. So, happily cutting away at night, after the baby is in bed, every fabric that had... say 4-6" left, I cut into strips for my stash bin. Fortunately, I sew in bits and pieces because later I realized the need for the 3.5" squares and actually had enough fabrics left to cut the border squares. So, maybe the border isn't as scrappy as I would have liked, but at least I didn't have to piece fabric together to get those 3.5" squares! I wrote - in pen - in my book on that chart PLUS 66 3.5" squares for the scrappy medium/dark scraps.
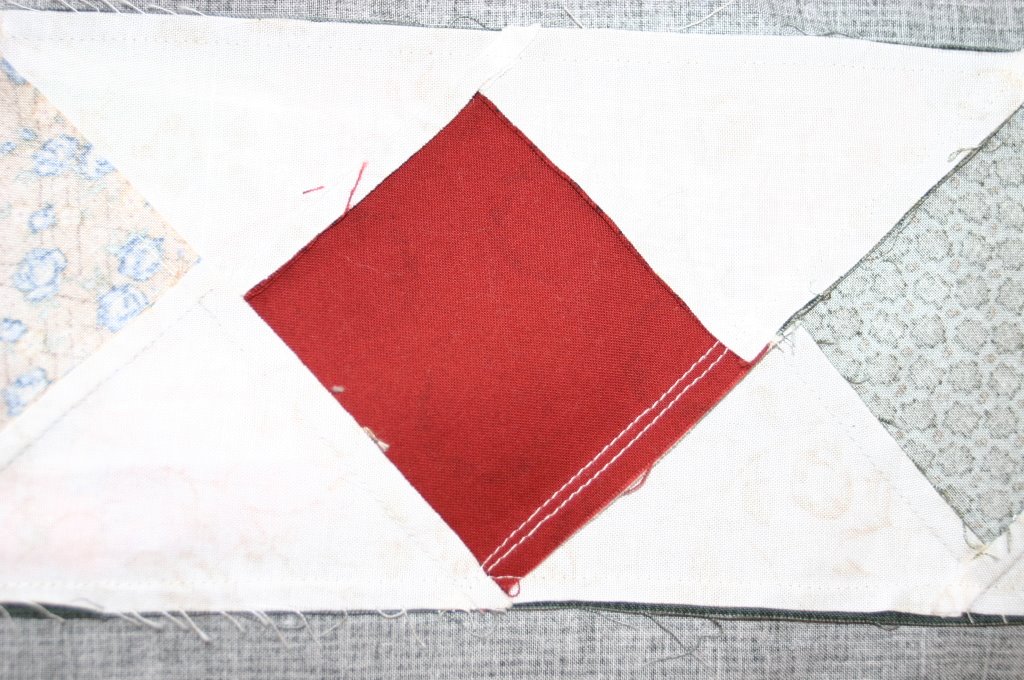
OK, all cut out now! The body of the quilt itself went super fast! Staggering the strips and then cutting them was a new technique to me, so off I went, staggering 10" as clearly illustrated in the drawing. The directions say about 10". Never mind, I sometimes sew at night after the baby is in bed, and I admit - I might be a wee-bit tired at this point in the day, so I do rely on directions and I was looking at the illustration, not reading text buried in a paragraph! So 10" it was, not "about" 10". Until I got to the part that those same 10" needed to be cut into 3 segments, each 3.5". Ummm, 3.5" X 3 equals 10.5", not 10". So, right away I had a problem! And lucky me, at this point I didn't have too much sewn together, so all was not a complete loss, although I now have a fair amount of pieced 3" sections that are left over ~ (I have a limited amount of fabric on hand, and being in Austria - no, I can't just run out to the fabric store to get some more!). I ended up sewing all my long strips together 2 at a time, subcutting them into 3.5" units and then sewing 3 units together to get the 6 needed fabrics, per segment. It accomplished a scrappy effect! Plus, I don't know about you, but when I sew 6 1.5" strips together, they tend to wave - unless I am super careful about sewing 1 strip one way and the 2nd strip the other way. So, 2 plus 2 plus 2 to make the 6 worked just fine for me without the wave.
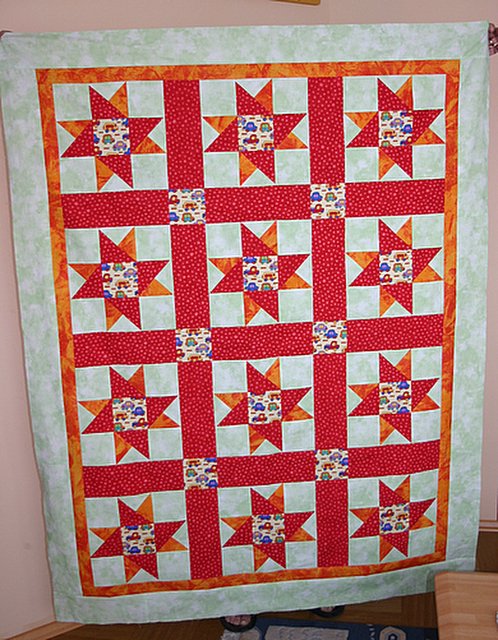
All in all, I am liking the way it is looking. I am really super pleased with my choice of colors and the tan on cream background print and the red/orange plaid. And, excited as I was, I got a good start with the borders too. But, ran into a problem, feeling that the setting triangles were a tad too small - and not wanting to chop my points OR have a tiny seam allowance, I set to work with the seam ripper. Scroll down to a previous post to read about this - and thanks for all the offers to help me rip - it did give me the gumption to keep at it! A fellow Stashbuster sent me the formula for setting triangles and I double checked over at Bonnie's site, AND sent an e-mail to Gayle Bong, author of the book. Turns out, those setting triangles should have been cut at 5.5" squares and sliced 2X diagonally instead of the 5.25" squares the book says. So, my intuition was correct in questioning it! I think that Gayle might have even had enough time to let the publisher know the error since the book is just about ready for republishing! Yeah, I took my pen, crossed out 5.25 and wrote in the correct 5.5" in my book. Am I the only one who writes all over my books?
OK, fine, I thankfully have enough of my background fabric to cut more triangles! I am out of the colorful scrappy squares fabric though so I have to resort to the seam ripper to salvage those. And, off I go, piecing those borders. But at this point in time, I think my seam allowance might be slightly off because I had a different foot on the machine, or maybe I was overcompensating due to the previous error, or whatever... because - when finished - those border strips are a few inches longer than the quilt top. Hummm. And at this point I am absolutely kicking myself because before I even started this quilt I made a mental note to lay it all out on the floor before cutting the first border, so I could make any necessary changes to make it fit the pieced border. But, did I write this in my book at the beginning? No! So, I add a skinny strip of red. And it doesn't set off the pieced border nearly as well as my green and DH thinks it looks like a mistake - I agree, and again, use the seam ripper.
My solution is to take a slightly larger seam just about every other square to ease it all in. This way - the corner squares won't look "chopped" at the corners. And that almost works! With a little coaxing! Can't put the baggy on the bottom in this case for fear of chopping the points, so I am watching the slightly larger border race ahead of the sewing machine needle. And, I always cut my borders LONG instead of piecing strips together - so they tend to be a bit less stretchy when it comes to easing. What is one to do? Well - don't look at this if you sew on a fancy-dancy computerized machine because I wouldn't want you to fry the thing... but, what I did was grab a spray bottle of water and absolutely soak that top border and bottom fabric into submission. Yup - when the fabric is wet you can mush it down with your fingers just fine and still pull the bottom one a wee bit and it will iron out without any puckers. I wonder how those new machines with even feeds would like this system? Anyway, it is one of my last resorts, but sometimes you have to do what you have to do!
I also tried following the mitering directions (which are about the same as everyone elses), but for the life of me, I never can get a smooth miter with these directions! I tried! And then I rip that apart too and sew it my usual way - 1 seam right to the end of the fabric, the 2nd seam right up to the stitching of the 1st seam. I don't leave the recommended 1/4" before the ends - it just doesn't work for me. Then I fold the top fabric at the mitre angle and right where I need to sew it - and press. That is my sewing line. After sewing, and repressing open, if the stitching line isn't exactly on the final pressed fold - I just go back and restitch on the fold. Perfect mitres every time - nice and flat! Yes, I almost flunked home-ec sewing for not following directions! Maybe I am a teacher's worst nightmare, but I accomplish what I want in the end!
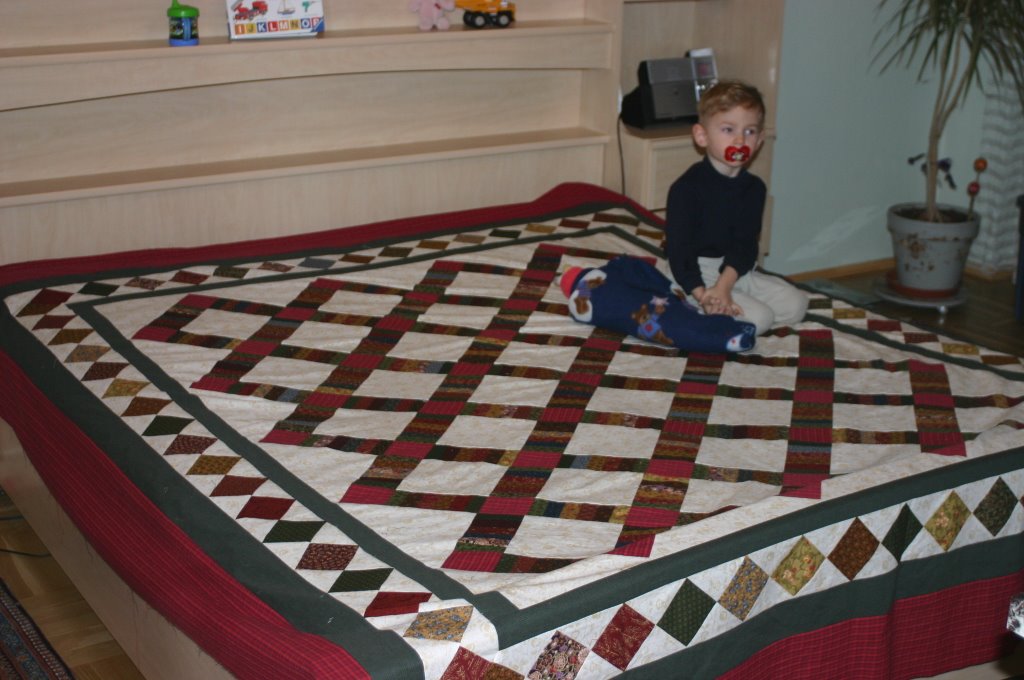
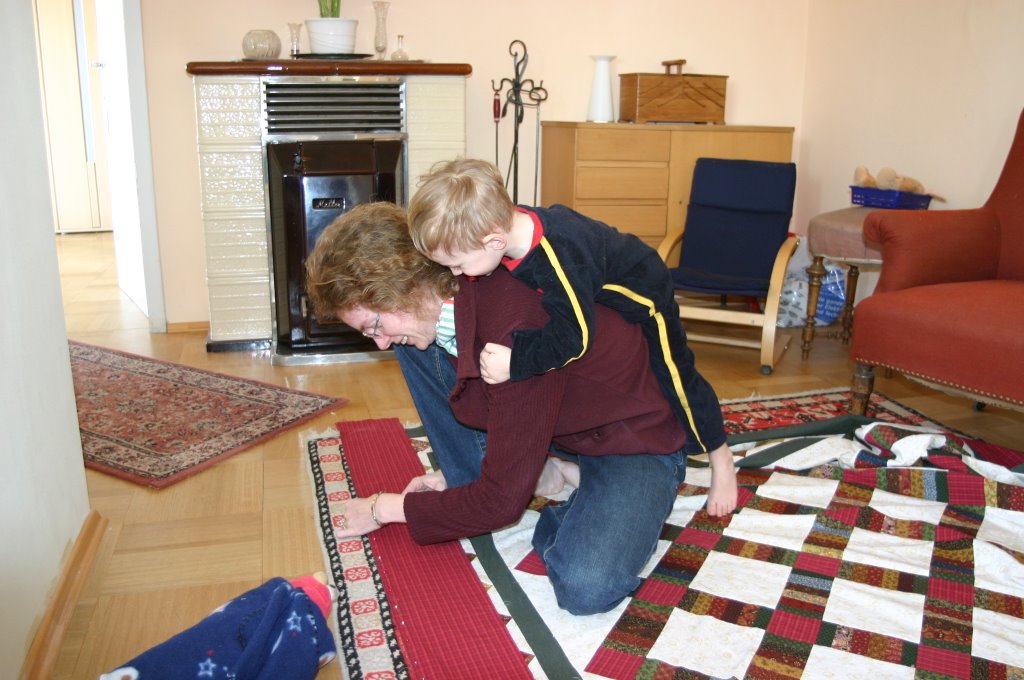
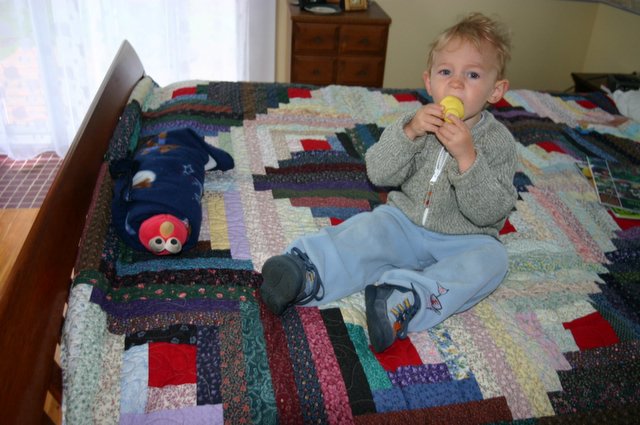
So, now I have that finiky pieced border on - and the 2nd border water sprayed into submission. Only that final red border left to go! And those are the pictures you saw the other day with Little Boy helping me. And, don't worry about my back - I usually only pin borders when he is napping - he just helped me on that one and I was 1/2 way down that side before he climbed on my back! And he really is my Lucky Charm because guess what? Those final red borders didn't need any easing at all! Amazing!!!
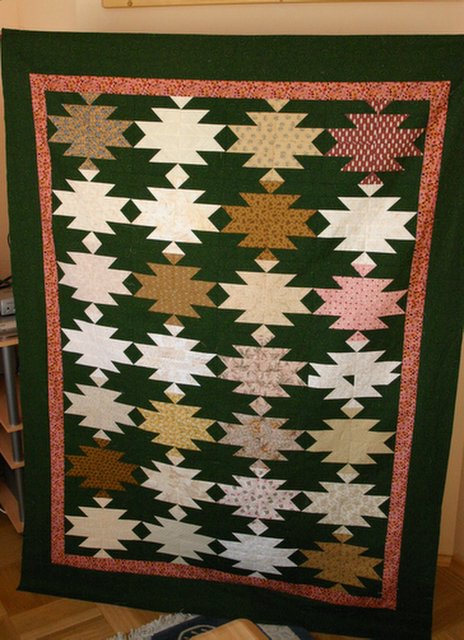
I am pleased with this quilt. You might have noticed that 2 more versions are on my Top 25 list - one in blues/yellows and another in mauves/sage greens. I have my notes now! I have the correct measurements! I know how to do the 2nd and 3rd versions. So, yes, despite some troubles, I am very pleased with this quilt top and am looking forward to making it again! Oh, and did I mention - it is BIG!


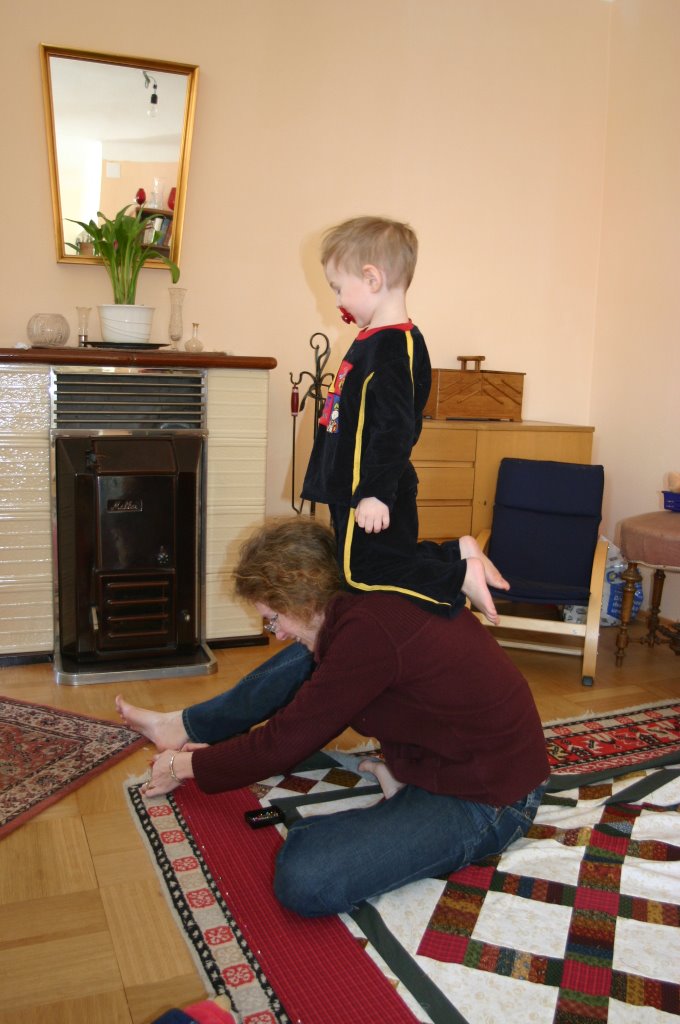
Almost done now, phew! When I look at this photo - all I can do is laugh! Amazingly enough, when I get to the final borders somehow are usually nice and square. He must be my lucky charm - and what a lucky Momma I am!!!


Little Boy is standing in front of a wonderful display of eggs decorated with itty bitty pieces of wood cut into shapes to make the design. Wow! Such detail. This window actually has 2 trees displayed - the other tree is full of eggs that have designs cut out of the shell to form the pattern. Can we all say - very fragile! Good thing I like window shopping as opposed to actually being crazy enough to enter such a store with a toddler!

Here we see a plate of glass eggs - they range in price from 11 Euros for the plain ones to 24 Euros for the more elaborate ones.
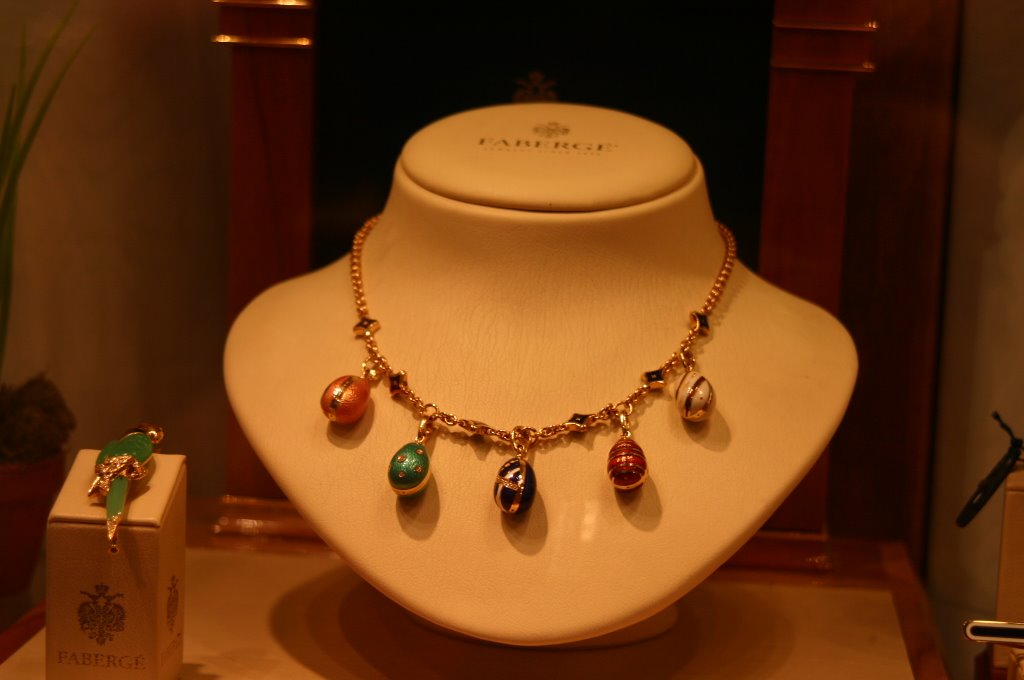
Or, maybe Faberge eggs are more your style? About 1200 Euros PER egg - depending entirely upon the egg, of course (and no, that doesn't include the necklace chain!)

I like the cross stitched eggs. I actually set about making a few of these eggs last year and got as far as making a few cross stitched roosters and some tulips too. Now I just have to buy the plastic form, glue it all down, add the trim, but Martha Stewart I am not - so - yeah, maybe next year!

And last, but certainly not least, our very own Easter Egg pussy-willow tree! Oh so practical me - I bought 15 plastic eggs for a 3.50 Euros - and 2 little wooden flower sticks for 70 cents each. So, Little Boy can bat at them to his hearts content and this Momma isn't worried one bit! Yes, all those other beautiful eggs are really wonderful to LOOK at, but for my own house - you better believe that I really do love our unbreakable Easter Egg tree!


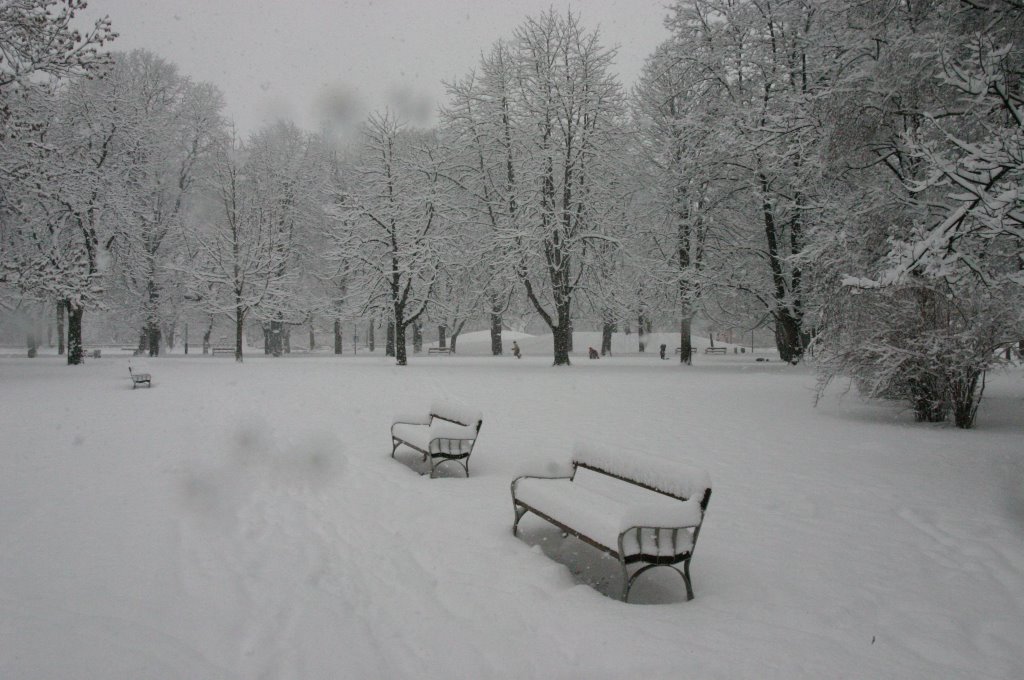
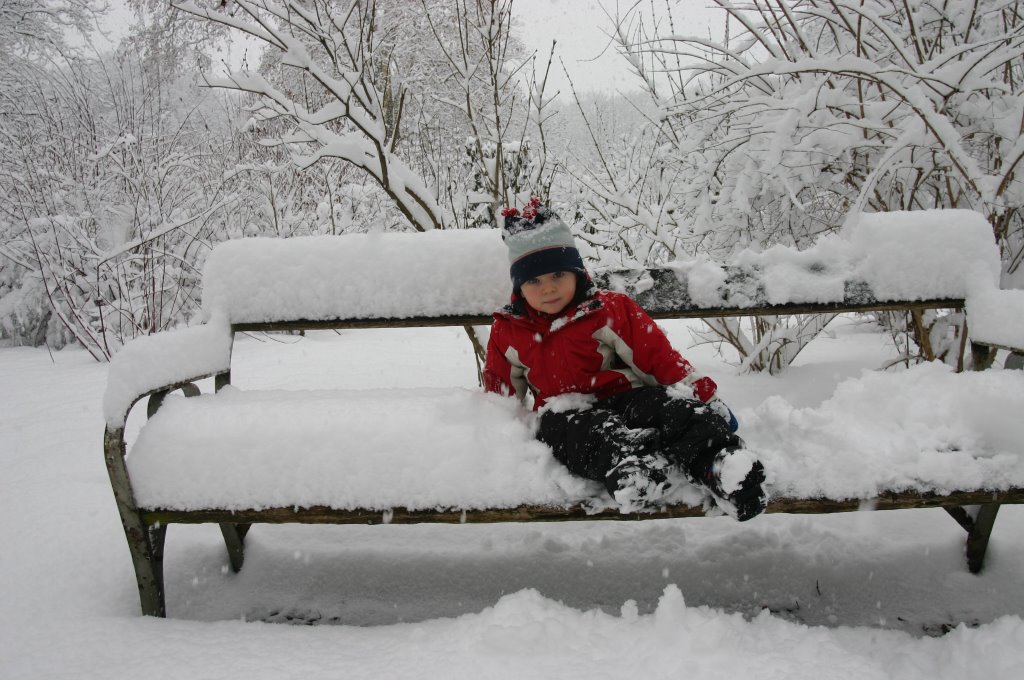
Some photos from our snowy excursion to the park yesterday. Excuse the snowflakes on the lens - the snow was coming down fast and furious! The park was fairly empty - a few people walking dogs and way off at a hill - some kids sliding. And boy! did we ever have FUN! Little Boy rolled and rolled in the snow (I pull his hat down over a scarf to keep the snow off the back of his neck). We tried making snow angels, but after about 3 - he decided that he didn't like the snow falling on his face so we were back to rolling - much better just to smear your own face into the snow than having snowflakes randomly fall on you, right? A 2 year olds logic! He tried his hand at throwing a few snowballs at Momma, but thought it was more fun for me to try to hit him as he ran and ducked and screamed - a regular moving target. But the real fun was squashing Momma's snowmen. I made tons of them - all especially for squashing. Nothing huge - just a few big snowballs stacked on top of each other - up to about his waist - ah, the perfect size for falling on and squashing!
We stayed at the park for a record 45 minutes - basically until our mittens were wet through, came home for a hot lunch, and then the Little Darling took a 3 hour nap. Aha - now you know my secret of how I get so much done with a toddler underfoot - I tucker him out with lots of fresh air and exercise and he almost always sleeps at least 2 hours, sometimes 3 in the afternoon. Grin!
As nice as that snow looks, I still think it is 100 times easier to go to the beach - a bathing suit. How simple can that be? (OK, I won't mention the beach wagon full of toys, coolers, sunscreen, umbrella, towels, etc.) But seriously, do you know how many layers he is wearing? It is a wonder he can move at all. No wonder he needed a 3 hour nap to recooperate!
And today - warm enough (but don't be mistaken - it is still cold) for all that snow to be just about gone now. Good thing we ran right out yesterday and enjoyed it while it was here.
FOR A CAUSE:
KN pink ribbon signature collection fabric to make 10" quilt blocks to benefit the Breast Cancer Research Foundation - details can be found at www.karenneuburger.com - click on Shop KN and then select Paper Goods and Crafts - Deadline is May 1st for blocks - so just figure TAX DAY to mail your blocks and they should get there in time.
THE DREAM:
A super-sonic fast sewing machine! Ha, ha. But honestly, I would LOVE to have an industrial speed sewing machine! I will shop around - maybe I can get a used one somewhere...
So, that's my list. It doesn't seem too bad at all. I am staying focused on finishing what I have started and busting my stash! OK, I admit - I might end up throwing in a few co-ordinated fat quarter packs, but I really don't think that I need much more. I will make a NEW list once I complete the quilts on THIS list!!!
Actually, I have already started LIST 2, but I won't buy anything on it until I have LIST 1 checked off and those tops completed. Lists are a good thing for me!
What's on YOUR LIST???? (Like that ad - What's in yoooouuuur wallet?)! Inquiring minds want to know.


